Government · 7 min read
How to Reduce Passport Photo Size for eCitizen, KRA and Other Uploads
Fix oversized photo uploads while keeping faces clear. Learn KB and MB, JPG compression, pixel resizing and PDF alternatives.
By Dismus Nganyi · Published 10 November 2026 · Last reviewed 10 November 2026
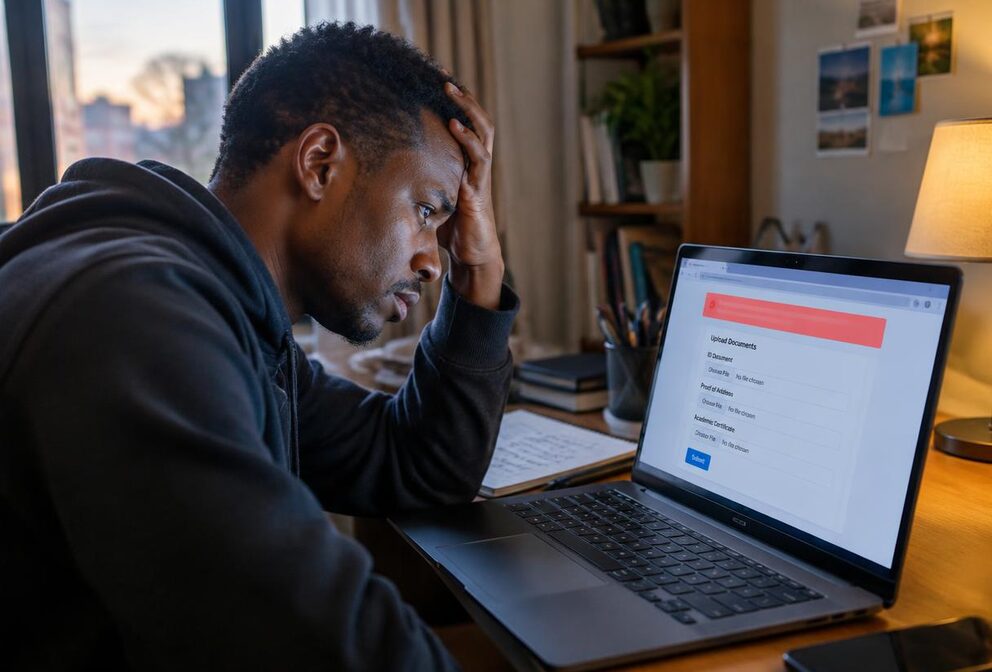
You choose a passport-style photo or scanned attachment, press upload and see a file size warning. It is tempting to take a screenshot, rename the file or reduce quality until the warning disappears. A better approach is to check what that particular field requires, make a separate smaller copy and confirm that it still shows the necessary detail.
This guide helps when an image field on eCitizen, KRA iTax or a KUCCPS-related application rejects an oversized file. It does not claim that all those services require a passport photo or use the same attachment rules. Some fields request documents or structured files instead. Read the label beside the upload control before deciding that an image compressor is the right tool.
Start with the portal message, not an online rumour
Write down the field's maximum file size, accepted file extensions and any required pixel dimensions. Also note whether it asks for a photograph, a scan or another document type. This guide does not give a universal eCitizen, iTax or KUCCPS upload limit because a single verified limit for every field has not been established. Follow the live page's own instructions.
The Directorate of Immigration Services says passport applications are made through eCitizen and describes appointment booking and biometric enrolment, including photo capture. Do not assume that shrinking a passport-style JPG replaces those steps. For an actual passport application, follow the current official Immigration and eCitizen photograph and submission guidance. A small file is not automatically a compliant passport photograph.
KRA's official filing FAQs describe a return workflow involving a generated zipped file. That is an important reminder: an iTax return file is not the same thing as a supporting photograph. Likewise, KUCCPS application instructions and attachment needs depend on the process you are using. Check the current official guidance for that process rather than following an old screenshot from a different application year.
Understand bytes, KB, MB and pixels
File size measures how much data a file contains. Pixel dimensions measure an image's width and height. A photo can have the correct width and height but still contain too much data for a field. Conversely, a tiny file may have the wrong dimensions or be too blurred to identify the person. Both requirements need checking when the portal specifies them.
Cyber Kenya's File Size Converter uses 1 KB = 1,024 bytes and 1 MB = 1,024 KB. Under that convention, 200 KB equals 204,800 bytes, and 1 MB equals 1,048,576 bytes. Those figures explain conversion only; 200 KB is not presented here as a limit for any Kenyan portal. Some websites use 1,000 bytes per KB instead, so boundary values can be interpreted differently.
Suppose a fictional upload field says a file must be below 200 KB. A file of 202,000 bytes is below 204,800 bytes but above 200,000 bytes. That difference can explain a rejection near the boundary. If the page does not define its unit convention, make the file comfortably smaller than the displayed maximum without destroying clarity. Do not argue that your phone's rounded size label must be the portal's exact measurement.
Compress a photo step by step
Cyber Kenya's free Image Compressor re-saves an uploaded photo as a smaller JPG in your browser. Its quality control runs from 30% to 95%. The quality percentage is a setting, not a promise that file size will fall by the same percentage. Results depend on the original image, its dimensions and how much detail it contains.
- 1Keep the original photo unchanged and open Cyber Kenya's free Image Compressor.
- 2Upload the photo you intend to use, then choose a quality setting around 80% as a practical starting point.
- 3Download the resulting JPG and inspect its file size in your device's file details.
- 4Open the downloaded copy and check the face, especially the eyes, hairline and facial edges, at a useful viewing size.
- 5If it is still too large, try a slightly lower quality setting using the original again. Compare the new copy with the portal's limit and the original photo.
- 6Once the file fits and remains clear, select that downloaded copy in the correct upload field and review any preview or error message.
Starting near 80% is a suggested workflow, not an official portal requirement. If the first attempt works, there is no reason to push quality down to 30%. If a face becomes smeared, blocky or difficult to recognise, go back to the original. A smaller but unreadable photo can solve one technical error while creating a more serious content problem.
Resize dimensions when quality alone is not enough
A high-resolution phone photo may contain far more pixels than the field requests. If the upload page gives exact dimensions, use the Image Resizer to set those pixel sizes. Check the result carefully: resizing is not a reason to stretch a face or distort a document. If the starting photo has unsuitable framing, obtain a properly framed source rather than assuming compression can repair it.
After resizing, you can compress the resized copy if needed. Keep the original and name the working copies clearly so you do not repeatedly compress the wrong file. If the page specifies no dimensions, do not invent a compulsory width and height based on another service. Reduce cautiously, checking that enough detail remains for the purpose of that attachment.
Convert PNG to JPG only when JPG is accepted
A PNG photograph may be larger than a JPG version of the same scene. The Image Compressor outputs JPG, so it can be useful when a PNG photo needs a smaller JPG copy. Check that the field accepts JPG or JPEG first. Changing the letters at the end of a filename does not convert the underlying file format.
Be more careful with screenshots, logos, transparent images and scans containing fine text. JPG compression can introduce visible marks around sharp edges, and JPG does not retain PNG transparency. Open the converted result instead of assuming it looks identical. If the field specifically requires PNG, a JPG download is not a valid substitute even if it is smaller.
A scanned PDF needs a different workflow
If the field asks for a PDF and your attachment is a scanned PDF, use Compress PDF rather than the photo compressor. Check every page afterwards, including signatures, stamps, small numbers and the edges of the scan. A document that opens successfully may still be unreadable or have missing pages, so viewing only the first page is not enough.
Do not turn a multi-page document into a single screenshot just to reduce its size. Do not convert an official return ZIP, spreadsheet or other required structured upload into a photo. The correct tool follows the required file type. If a field accepts only images, consult that process's instructions for preparing the document instead of assuming any PDF will be accepted.
Avoid common phone screenshot traps
A screenshot can include notification bars, app controls, chat names or black borders. It may also reduce the useful detail in the face while adding unnecessary pixels around it. Whenever possible, work from the original photo rather than a screenshot of a photo displayed in a messaging app. Repeated forwarding and saving can also leave you with a poorer source.
Check which file you actually selected after downloading. Phones may keep several similarly named copies, and the upload picker may show the old original first. Use a simple descriptive filename and compare the file details before trying again. If a valid, small file still fails, re-read the error: the problem may be format, dimensions, a session issue or a different required attachment, not file size.
Protect your account and finish carefully
Enter the official service through its verified website and keep control of your login. Never share passwords, M-Pesa PINs or OTPs with anyone claiming they need them to compress a file. Cyber Kenya never asks for your passwords, M-Pesa PIN or one-time codes. The browser image tool does not need your portal login to create a smaller JPG.
On a shared computer, avoid leaving identity photos and scans in public download folders after you finish. Keep your original safely and remove unnecessary working copies from the shared device. Review the uploaded preview and any confirmation message before closing the page. Compression can address an oversized image, but it cannot guarantee approval or replace the portal's document and photograph requirements.